Images
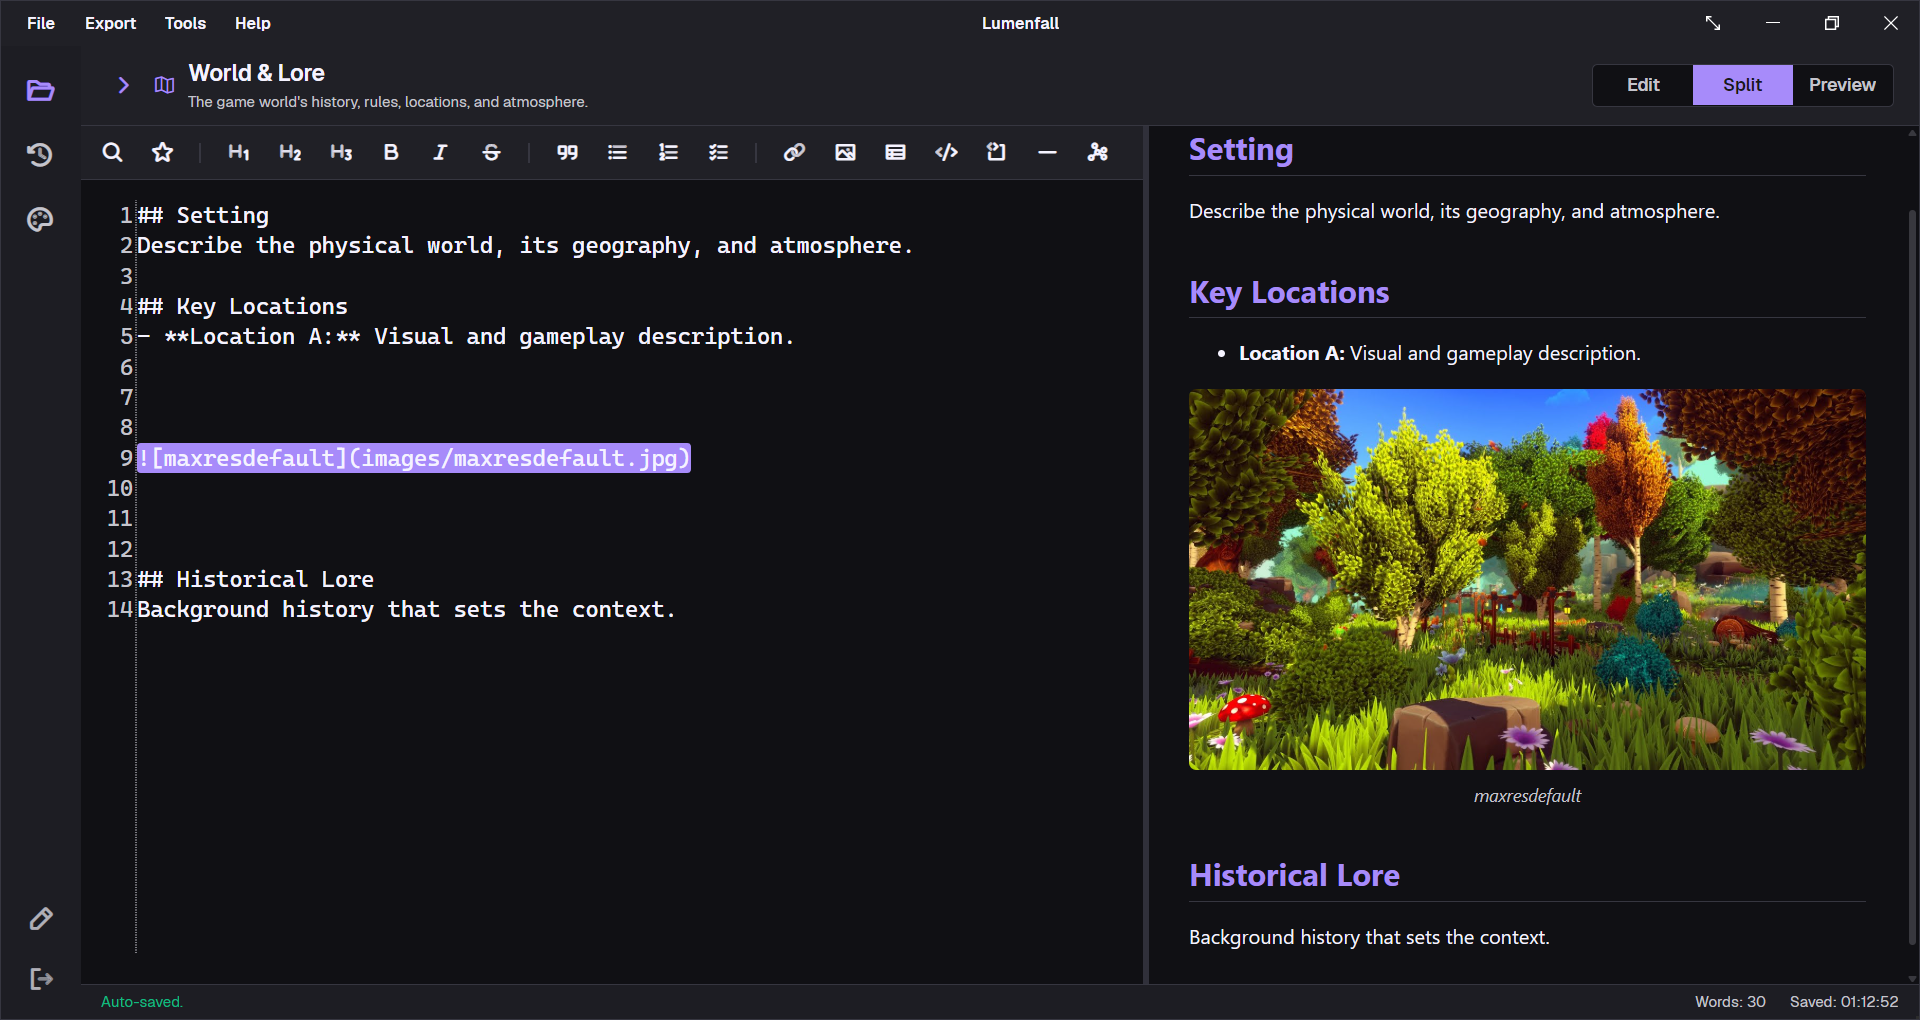
GDDKit can insert image files or turn clipboard bitmap data into a project asset. It stores generated Markdown in the active section and keeps the file beside the project rather than embedding it in .gddkit.
Insert an image file
- Place the caret where the image should appear.
- Select the image button in the Markdown toolbar.
- Choose a PNG, JPG/JPEG, BMP, or GIF file.
- GDDKit copies it to an
images/folder next to the project. - The editor inserts a relative tag such as:
If that filename exists, GDDKit creates combat-loop_1.png, then _2, and so on. The source file is not overwritten.
Paste an image
With the editor focused, Ctrl + V follows this order:
- If the clipboard contains a supported local image file, insert that file.
- Otherwise, if it contains bitmap data, save it as a timestamped PNG such as
clipboard_20260715_142233123.pngand insert it. - Otherwise, paste ordinary text.
The generated alt text starts from the filename. Replace it with a short description of the image’s purpose for accessibility and for PDF fallback messages.
The most reliable Markdown pattern
Put the image on its own paragraph:
The combat loop has three feedback horizons.

Use the immediate loop during the first playable tutorial.The PDF renderer recognizes a standalone image paragraph as an image block. An image embedded inline with other text may fall back to its alt text in PDF.
Local, absolute, and remote sources
| Source | Preview | Portability | |
|---|---|---|---|
images/map.png | Yes | Yes | Best; relative to the project folder. |
| Absolute file path | Local machine only | Can load locally | Poor; breaks after moving or sharing. |
file:///… URL | Local machine only | Can load locally | Poor and platform-specific. |
https://… image | Requires network | Requires network; 10-second request timeout and 8 MB maximum | Depends on remote availability. |
data: URI | May vary | Not supported by the PDF image loader | Avoid. |
Remote or missing images do not necessarily cancel PDF export. The PDF can contain a readable fallback box naming the image instead.
GIF, size, and quality
The file picker accepts GIF, but a PDF is static; do not promise animation in exported output. Use a representative still frame when motion is important and link to a video separately.
Very large images increase memory and PDF size. Resize screenshots and references to a sensible reading resolution before insertion. Keep original production art in its asset system rather than turning the GDD into an art archive.
Move or share image-heavy projects
- Copy the
.gddkitfile andimages/folder together. - Preserve the folder name and relative layout.
- Markdown export creates the
.mdfile only; copyimages/separately to the export destination. - After moving, check a section in Split mode and create a PDF smoke test.
- If only the project logo is missing, reselect it in Project Details; logo handling is separate from section images.
See Files, assets & backups for a complete portable layout.
When an image does not render
- Inspect the Markdown path for spelling and URL encoding.
- Confirm the file exists relative to the
.gddkitfile, not relative to the exported.mdfile’s new folder. - Put the image tag on a separate paragraph.
- For a remote image, test the URL without authentication and check the 8 MB PDF limit.
- Reinsert the file with the toolbar to let GDDKit create a safe relative path.