Getting Started
Welcome to GDDKit! This guide will walk you through downloading, installing, and starting your first project.
GDDKit is a lightweight, native desktop application built with C# and WPF for Windows. It provides game developers with an offline-first workspace to outline, write, and export structured Game Design Documents (GDD) without being locked into cloud ecosystems.
System Requirements
Before installing, ensure your Windows machine meets the following minimum requirements:
- Operating System: Windows 10 (64-bit) or Windows 11
- Memory: 300 MB RAM minimum
- Storage: 50 MB free disk space
Purchase & Installation
GDDKit is a paid application. Upon purchasing the software, you will be provided with the installer file named GDDKit-Setup.exe.
Installation Steps
- Download
GDDKit-Setup.exefrom your purchase platform. - Double-click
GDDKit-Setup.exeto run the setup installer. - If prompted by Windows SmartScreen, click More Info and then Run Anyway (since the package is self-signed).
- Follow the simple on-screen instructions to complete the installation.
- GDDKit will be added to your Start Menu, and you can boot directly into the Home Screen.
Home Screen Overview
When you launch GDDKit, you are welcomed by a clean, productive workspace:
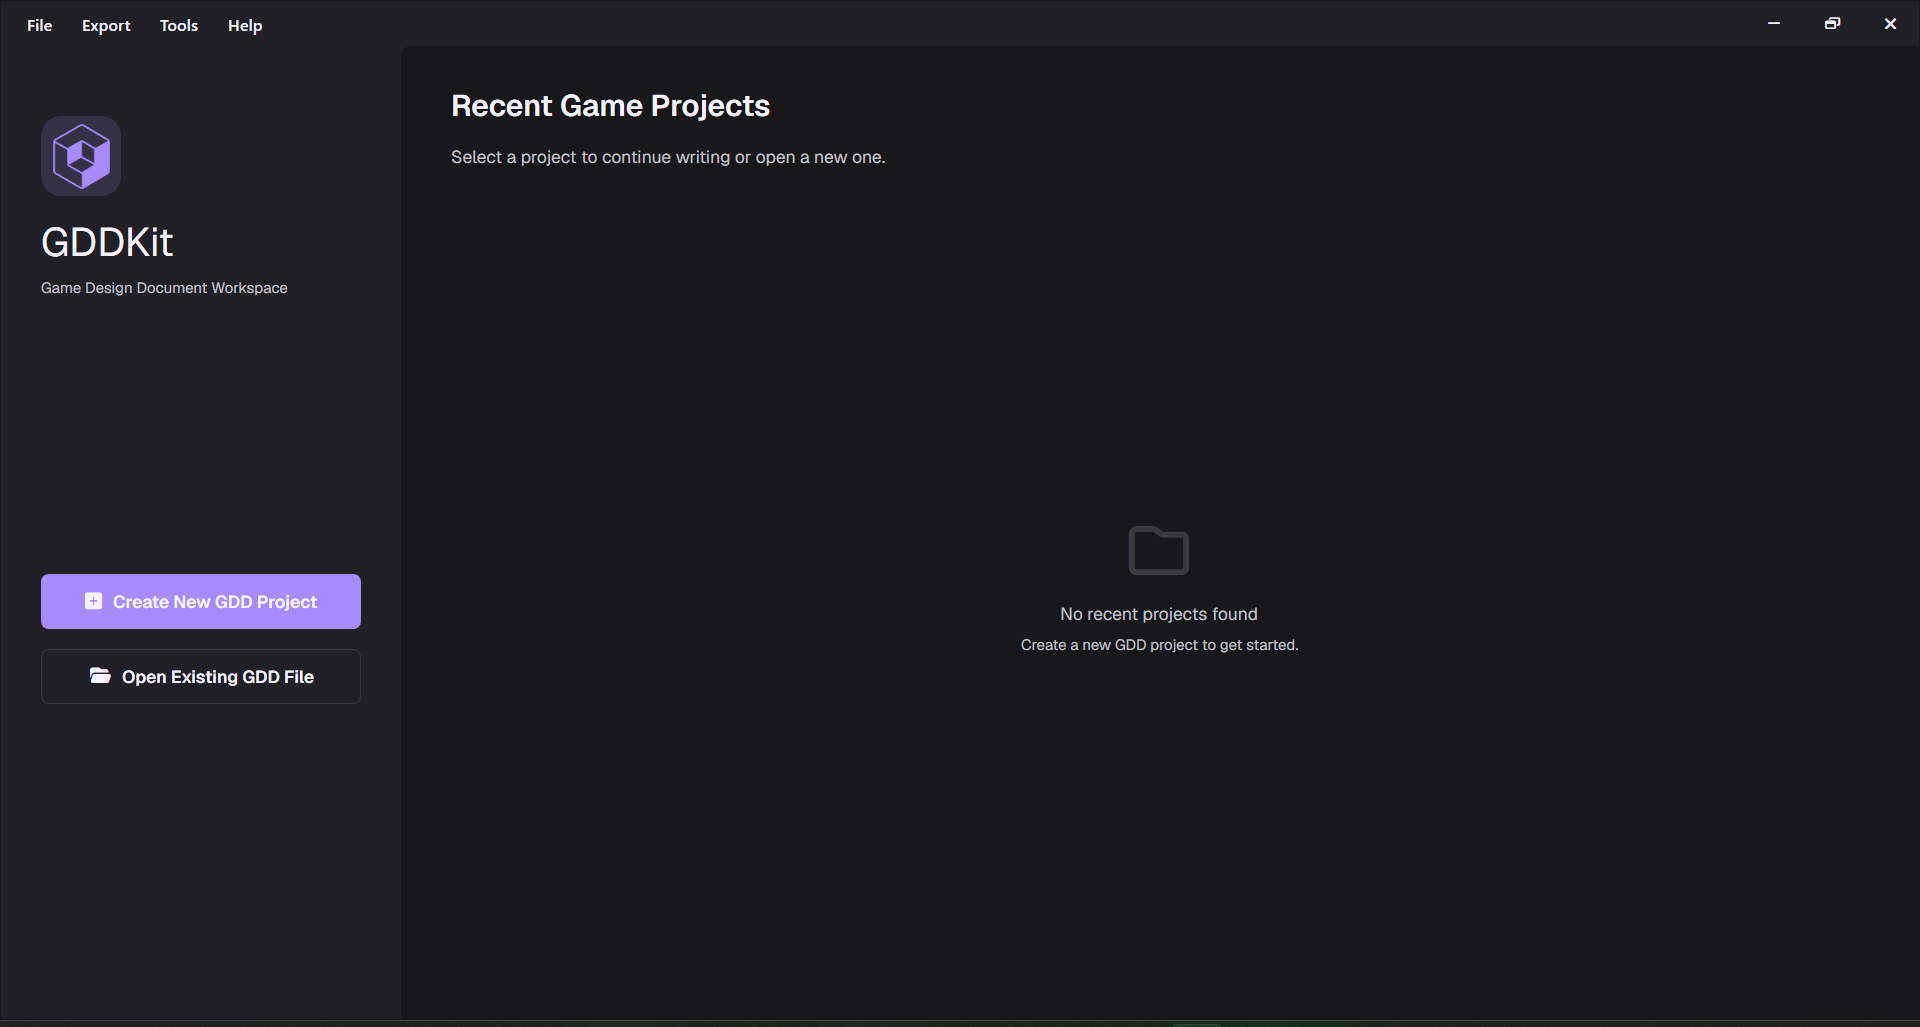 Figure 1: The GDDKit Home Screen showing quick action cards and recent projects.
On the Home Screen, you can:
- Create a New Project: Start fresh with a new GDD file (
.gddkit). - Open Existing Project: Browse and select an existing
.gddkitfile on your hard drive. - Recent Projects: Quick access cards showing your recently modified game projects with details (Title, Genre, Last Modified date, and Custom Logo).