Project Changelog
As your game moves through production, your design document will change. GDDKit includes a dedicated Project Changelog system that tracks game versions and changes directly within the .gddkit file.
This helps team members, publishers, and community members quickly see what has been added, modified, or cut.
Accessing the Changelog
To open the changelog panel:
- Click the Changelog button (clock/history icon) in the top-right menu of the Editor Interface.
- The Changelog View will open, showing a chronological list of all entries sorted by version and date.
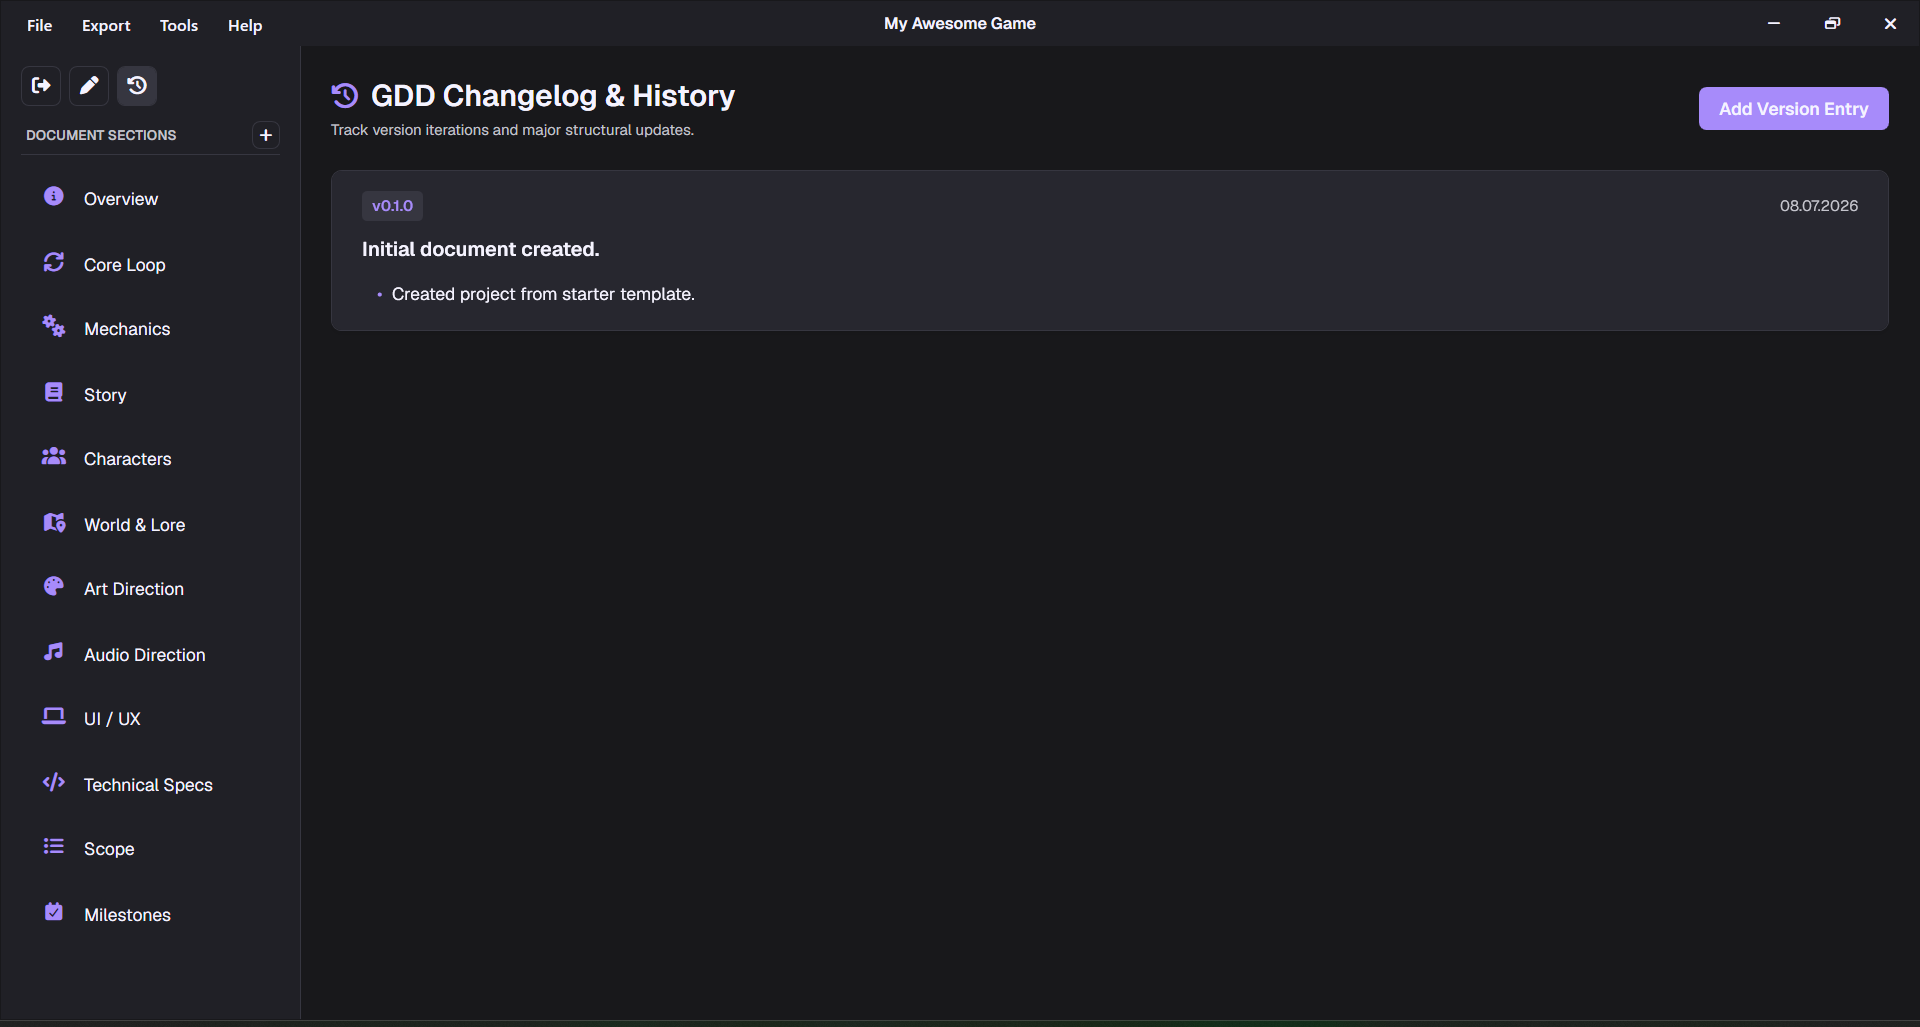 Figure 1: Sürüm günlüğü ekranı (Changelog View).
Adding a Changelog Entry
When you make a major modification to your game design (e.g. redesigning combat, adjusting economy milestones):
- Open the Changelog panel and click Add Entry.
- The Add Entry Dialog will appear:
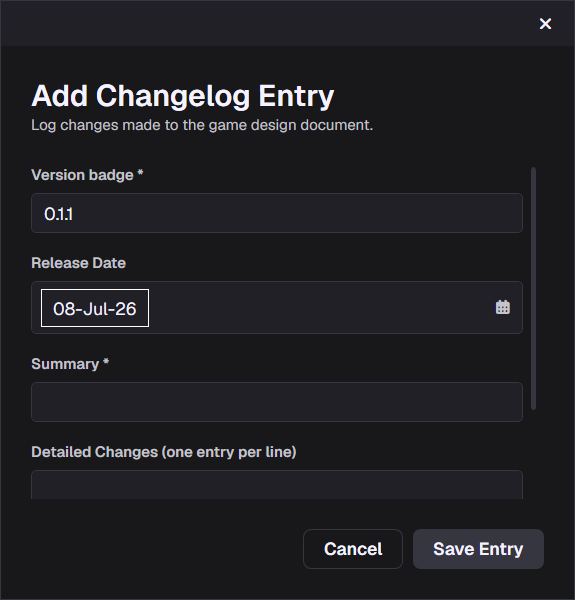 Figure 2: The Add Changelog Entry form.
Fill out the following fields:
- Version: The target game version or badge identifier (e.g.,
0.2.0,Prototype-1, orBuild-409). - Release Date: The date the change occurred (defaults to current date).
- Summary: A short overview summary describing the focus of the release.
- Detailed Changes (One entry per line): Write each specific modification on a new line. GDDKit will render these details as bullet points inside your changelog log and exports.
Click Add to save the entry. The changelog will be updated instantly and included in the next document export.